A mystery USB drive arrives at the office in an ordinary way. A vendor leaves a sample at reception, a colleague returns an old laptop bag, or someone brings a personal stick to move a file into a Slack-first workflow. The drive looks harmless, the operating system displays a familiar capacity, and somebody plugs it in before anyone asks whether the hardware is genuine or whether the contents are safe.
That shortcut creates two separate risks. Counterfeit or degraded flash media can report more storage than the NAND can hold, then overwrite earlier files when the genuine limit is reached. A malicious drive can also contain deceptive shortcuts, scripts, or payloads, while a modified device may abuse the USB interface itself. A proper USB flash drive test therefore has two jobs: prove that the storage can reliably retain and return data, and inspect suspicious content without giving it an opportunity to execute on a business endpoint.
The practical sequence is simple to state and easy to undermine: isolate the drive, mount it safely, capture evidence, verify capacity and file integrity, detonate suspicious files in a sandbox, then promote, quarantine, sanitize, or destroy the device. Skipping one stage leaves either the data or the workstation exposed. Teams that want to reinforce the human side of this workflow can also use insider threat awareness guidance alongside technical controls.
Why Every USB Drive Warrants a Test
The drive on the reception desk may be a returned asset, a vendor sample, or a colleague's personal stick. None of those origins proves that the device is authentic, intact, or safe. A returned asset might have been exposed to an unmanaged computer, while a marketplace drive may use falsified firmware that advertises capacity the physical flash cannot deliver.
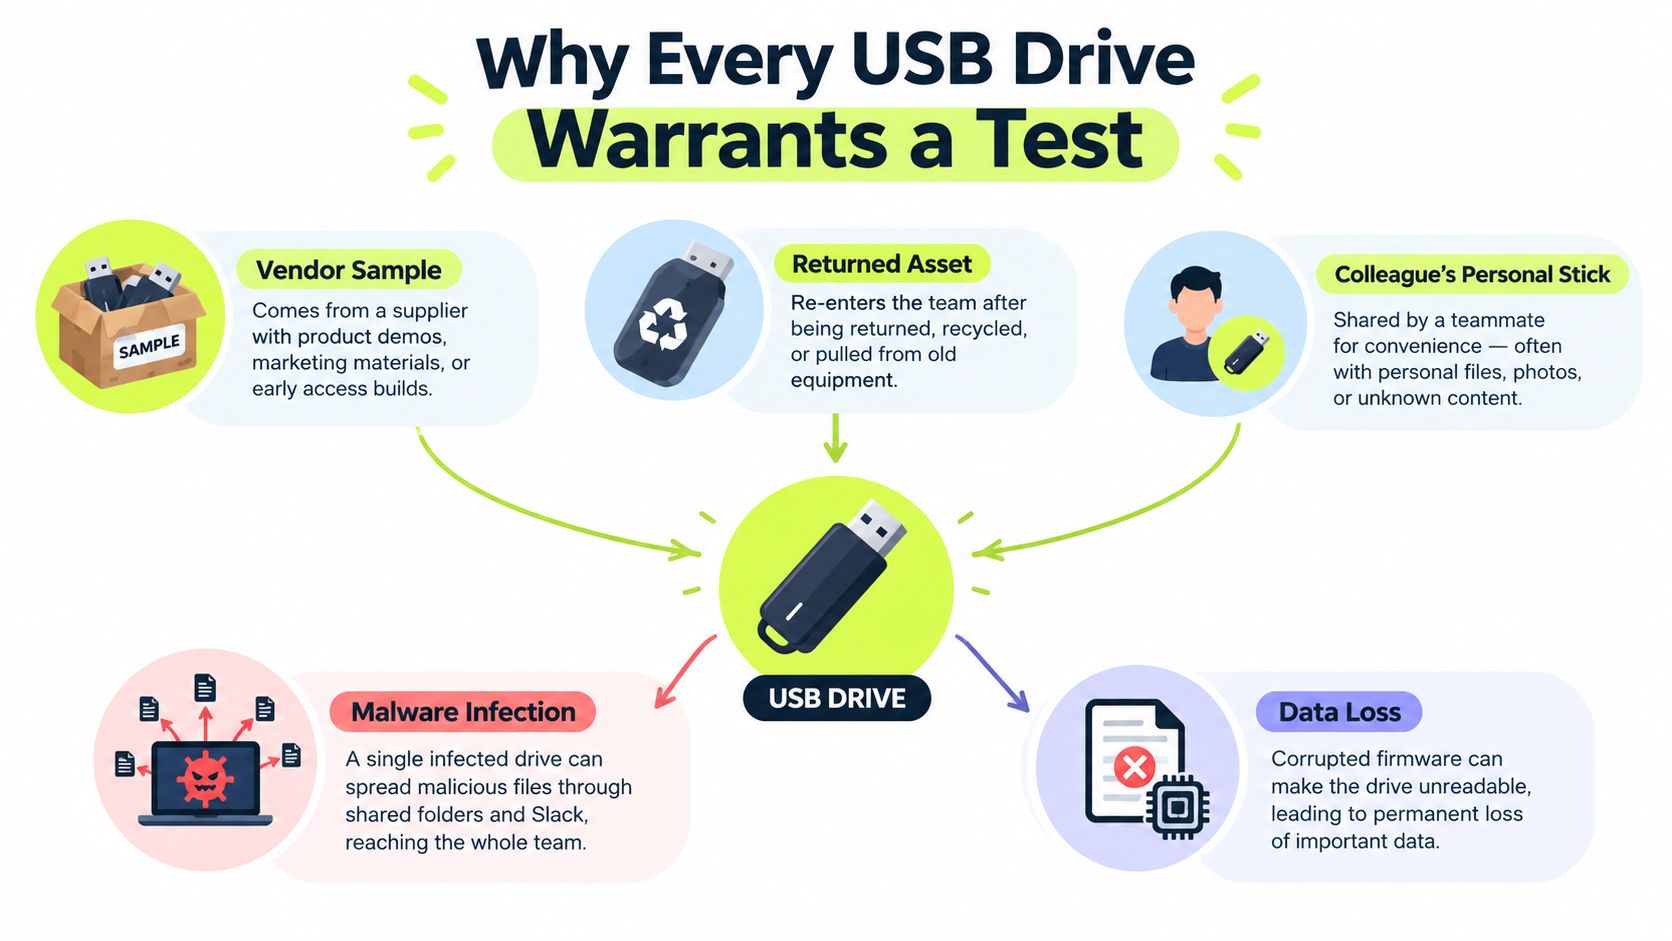
The first failure mode is silent storage failure. An operating system trusts the capacity reported by the controller, not the amount of genuine NAND behind it. A drive can therefore appear large enough for a backup while later writes overwrite earlier blocks. A quick copy test may finish successfully, yet a later read-back can reveal missing or corrupted files. This is why a capacity test must fill the available volume and compare the returned bytes, rather than relying on the label shown in File Explorer.
The second failure mode is execution risk. A root directory containing an autorun.ini, deceptive .lnk shortcuts, scripts, or an unfamiliar executable deserves investigation before anyone opens it. A USB device can also present risks beyond ordinary files, including malicious behavior in firmware or a device that impersonates another input class. The safest assumption is that an unknown drive is untrusted until the inspection process clears it.
Working rule: “Plug it in and see what's there” isn't a test. It's an uncontrolled execution decision.
A sound process separates evidence collection from user access:
- Isolate first: Use a dedicated workstation, remove network paths, and prevent automatic execution.
- Inspect without writing: Mount read-only where possible and preserve the original state.
- Prove the media: Run full capacity and read-back validation, not just a speed benchmark.
- Analyze behavior: Execute questionable files only inside a disposable sandbox.
- Make a recorded decision: Release, quarantine, sanitize, or destroy the drive with evidence attached.
That sequence protects both sides of the problem. Integrity verification tells you whether the drive can be trusted with data. Containment tells you whether the contents can be trusted near people and systems.
Setting Up an Isolated Test Workstation
Don't begin the test on your everyday laptop. A daily-driver host contains credentials, synchronized folders, browser sessions, and network access that a hostile file could exploit. Use a dedicated machine with no business data, or a virtual machine whose USB passthrough is disabled until you deliberately attach the device. Keep the test host off the production network. If the investigation requires controlled network visibility, provide it through a monitored analysis segment rather than an unrestricted office connection.
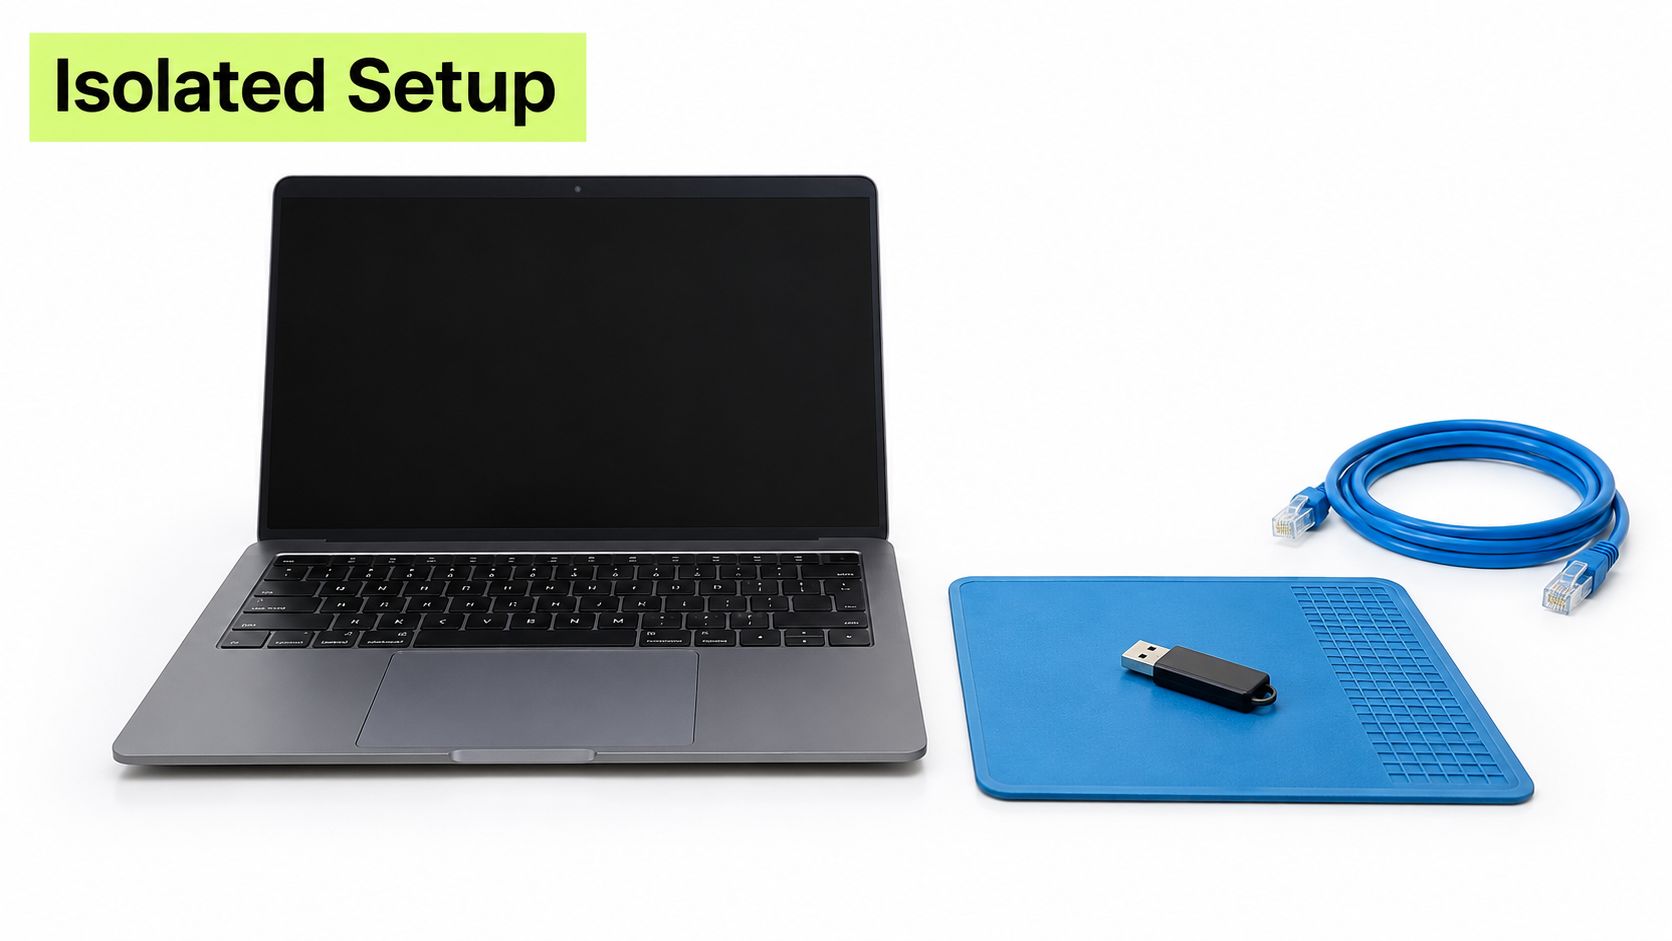
A hardware USB write blocker is preferable when the drive may become evidence. It reduces the chance that the host changes timestamps, metadata, or filesystem structures before you capture them. For a basic acquisition, create a raw image with dd on a controlled Unix host or use FTK Imager on Windows. Store the image on separate media, calculate a cryptographic hash, and work from a copy whenever the original may be needed for a dispute or investigation.
Configure the host before connection
On Windows, apply removable-media policies through Group Policy or the relevant registry controls. Disable AutoPlay and AutoRun, restrict removable storage access for ordinary users, and block executable launches from removable volumes through endpoint policy where your security platform supports it. On macOS, use device-management profiles to enforce removable-media and execution controls, and don't treat Finder's display settings as a security boundary.
Install the tools before the drive arrives:
- Acquisition and hashing: FTK Imager or
dd, plus a SHA-256 or BLAKE2 verifier. - Capacity testing: H2testw for Windows, or F3 with
f3writeandf3readon macOS and Linux. - Malware analysis: A disposable virtual machine, Cuckoo, CAPEv2, Joe Sandbox, or an equivalent detonation environment.
- Observation: Process, filesystem, registry, and packet or log capture utilities appropriate to the host.
- Evidence handling: A case directory with read-only permissions, a manifest, and a consistent naming convention.
Keep snapshots of the sandbox and analysis workstation. A payload may behave differently after a reboot, user-profile change, or software installation. Snapshotting lets you return to a known state and compare behavior instead of guessing whether the host was already altered. If the test requires dedicated endpoint hardware, review options that help you compare hardware solutions without mixing procurement decisions into the incident workflow.
Print the pre-flight check
Before connecting the drive, confirm that the host is isolated, policies are active, clocks are recorded, the acquisition destination has enough space, and the evidence directory is ready. Note the drive's label, connector condition, serial markings, and the person or process that supplied it. Photograph the device if chain of custody matters.
Don't “fix” the drive before acquisition. Formatting, opening files, repairing the filesystem, or running a cleanup tool can destroy the very evidence needed to explain what happened.
Mounting and Inspecting Contents Safely
First contact should be deliberately boring. Connect the device through the write blocker if available, confirm that the host hasn't assigned it write access, and identify every visible disk and partition before browsing. On Linux or macOS, a read-only mount can be issued with a command such as mount -o ro after identifying the correct device. The exact filesystem options vary, so confirm the resulting mount flags rather than assuming the command succeeded.
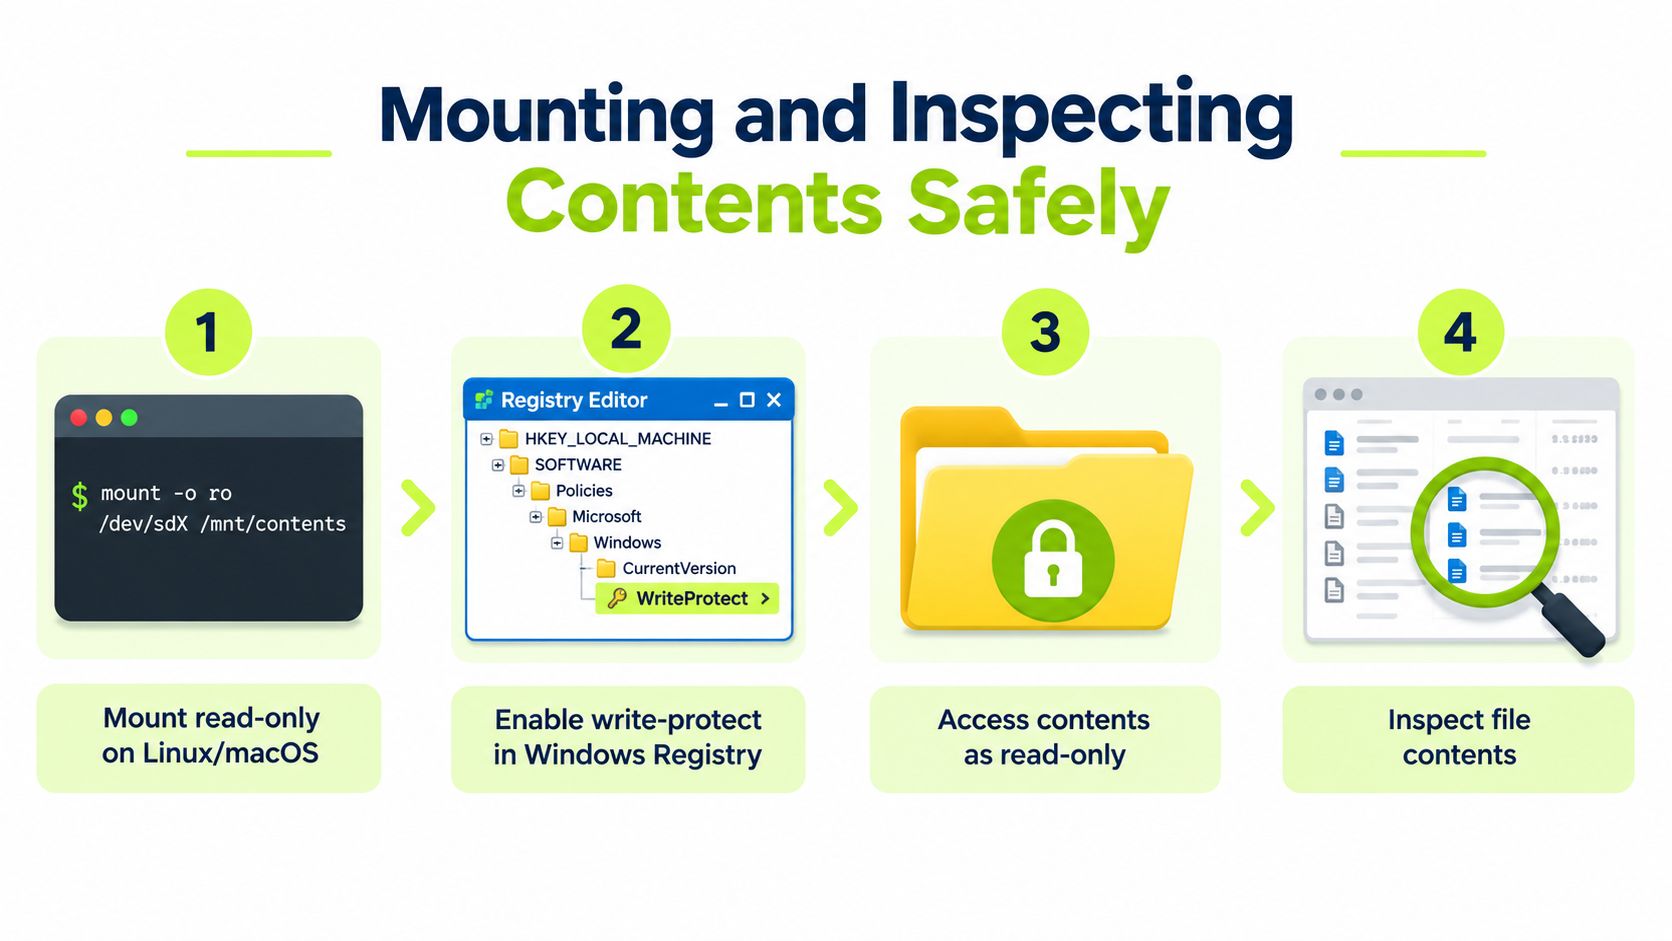
On Windows, enforce write protection through managed device policy or the removable-storage controls used by your environment. A registry setting such as StorageDevicePolicies\WriteProtect can support a controlled configuration, but it shouldn't replace enterprise policy, a hardware blocker, or verification that the device is read-only. Never rely on a visible switch in the user interface as proof that no process can write.
Inspect before opening
Record the root directory listing, hidden files, timestamps, file sizes, and filesystem metadata. autorun.ini, RECYCLER, unexpected .lnk files, double extensions, and executables with names resembling folders are useful indicators. They aren't automatic proof of malware, but they change the handling decision. Preserve the files and their hashes before attempting deeper analysis.
Inspect partitions with diskutil list on macOS or diskpart on Windows. A device that contains an unexpected secondary partition deserves the same caution as a suspicious file. Review executable headers, identify portable executable files, and use tools such as binwalk or equivalent analysis utilities to examine embedded data and unusual entropy. Script loaders, obfuscated command files, and documents with macros should remain outside the host's normal application workflow.
A managed endpoint should block execution from removable media where practical. Configure application control to deny unsigned or untrusted executables, and remove ordinary users' ability to override the decision. The objective isn't to make the drive invisible. It's to make inspection possible without turning a directory listing into an execution event.
Practical boundary: If you don't recognize the file, don't open it on the inspection host. Copy it into the sandbox and keep the original evidence untouched.
Verifying Capacity and Checksum Integrity
A capacity test must be destructive to the drive's current contents. Back up anything that matters, remove the files, and test the complete mounted volume directly connected to the host. H2testw's documented workflow requires an empty volume because it writes patterned data across the available address range, reads the data back, and compares the result. F3 provides the comparable f3write and f3read workflow on macOS and Linux.
This process catches a common counterfeit pattern. The controller reports a large logical capacity, but once writes pass the genuine NAND limit, earlier physical blocks are overwritten. The tool then reports corruption or unreadable files at particular offsets. A failure still needs diagnosis. Check the port, hub, adapter, cable, filesystem, operating system, and temperature, then repeat under controlled conditions before classifying the drive.
Record the advertised capacity, verified usable capacity, first error offset, total write and read time, filesystem, host operating system, direct-port configuration, and whether the device became write-protected. One repeatable mismatch is enough to quarantine the drive. Don't reformat it and return it to service as if the failure were a cosmetic issue.
Hash the files that matter
Full-volume testing answers, “Can this device address and return its claimed storage?” Checksums answer a narrower question, “Did this known file survive the copy unchanged?” Calculate SHA-256 or BLAKE2 for the source installer, evidence export, or audit archive. Copy the file to the tested drive, read it back, calculate the hash again, and compare the values. A mismatch means the file must not be used, even if the operating system reports a successful copy.
Use consistent variables when comparing drives. Keep the same directly connected USB port, filesystem, host, test-file size, and test procedure. A short transfer can measure cache behavior rather than dependable storage performance. For long-running tests, retain the logs and before-and-after hashes with the case record.
| Tool | Detects Falsified Capacity | Verifies Data Read-back | Best For | Limitations |
|---|---|---|---|---|
| H2testw | Yes, through a full-volume write | Yes, byte-level comparison | Windows capacity and integrity validation | Destructive, requires an empty volume, and can take substantial time |
| F3 | Yes, through f3write and f3read |
Yes, across the written test files | macOS and Linux full-volume testing | Destructive, requires careful device identification and free space |
| Checksum-only workflow | No | Yes, for selected files | Confirming that a known file copied unchanged | Doesn't prove unused capacity, controller behavior, or full-drive reliability |
A benchmark alone can't establish trust. Historical USB development illustrates why interface and flash generation matter. Early commercial drives around 2000 offered capacities up to 8 megabytes, while commercially available drives had passed 128 gigabytes by 2010, a growth of at least 16,000 times according to PCWorld's discussion of USB flash-drive longevity. The interface can become the bottleneck, so report capacity, interface generation, sequential and random results, file size, and whether the run was a short burst or a sustained transfer.
Detonating Suspicious Files in a Sandbox
The sandbox receives copies, never the original evidence. From the read-only acquisition, select the files that require behavioral analysis, preserve their hashes, and transfer them into a disposable virtual machine or analysis platform. Take a clean snapshot before execution and ensure that the sandbox network is either disabled or routed through controlled simulation and logging.
A useful detonation reproduces the action a user might take without placing a real user at risk. Launch the file through a controlled script or test interaction, then monitor filesystem writes, registry changes, child processes, persistence locations, injected processes, and attempted network connections. Capture screenshots and timestamps. Compare the observed file hashes with the hashes recorded during acquisition so the report identifies exactly which artifact produced the behavior.
Don't judge a file solely by whether it opens. A document that displays normally may still create a scheduled task, drop a secondary executable, alter browser settings, or contact an external service. Conversely, a script that fails in one sandbox may need a specific user profile or document interaction. Record the conditions and avoid overstating a clean result as proof of safety.
Package indicators for response
Export file hashes, mutexes, domains, URLs, dropped filenames, registry paths, process trees, and relevant YARA rules in a format your security team can search and share. Keep the original samples in quarantine with access limited to investigators. Send the result to the incident ticket, endpoint team, and the Slack channel used for device-handling escalations, without uploading sensitive samples into a general conversation.
The behavioral finding should change the response, not just the report. A confirmed payload means the device stays quarantined, the host that first touched it is investigated, and related removable-media activity is reviewed. If a colleague connected the drive, provide targeted coaching after containment rather than turning the incident into public blame.
The following video can help teams visualize the controlled-analysis mindset before they build their own runbook.
Endpoint Controls and Policy Enforcement
A careful analyst can't be present every time somebody finds a USB drive. The repeatable control is to make the managed endpoint default to containment. Apply removable-storage restrictions through Windows Group Policy or equivalent device-control tooling, use MDM profiles on macOS, and configure EDR rules to block unsigned executables and scripts launched from removable volumes. Where business needs require exceptions, make them time-limited, approved, and logged.
Least privilege matters here because a user who can override every removable-media control can defeat the workflow with one click. Pair device restrictions with application control and endpoint telemetry, then document who can approve an exception and what evidence the approver must retain. A practical overview of the distinction between endpoint protection layers is available in these Finchum Fixes IT cybersecurity insights.
Turn an event into a short intervention
A useful Slack workflow starts with a specific event, such as an unrecognized USB device enumeration on a managed host. The endpoint system can create a ticket and send the user a direct message:
USB handling reminder: This device isn't approved for business use. Don't open files or move data. Disconnect it, report the asset tag or physical description, and wait for IT to complete an integrity and malware check.
The refresher should be short enough to complete during the incident. Cover the safe sequence, the reason read-only mounting matters, the difference between capacity validation and malware analysis, and the escalation path. Follow it with a pulse question such as, “What should you do when an unknown drive appears?” The expected answer is to leave it disconnected or isolated, not to browse its contents.
Slack-native training is useful because the learner doesn't have to leave the workflow. Vigil Security delivers interactive four-minute lessons, questions, and feedback entirely within Slack conversations, with assignment by workspace, channel, team, or individual plus automated reminders and scheduling. That model supports recurring USB-handling refreshers without pretending that an annual policy acknowledgment proves day-to-day behavior.
Make the evidence reviewable
Assign the lesson to teams that handle vendor media, returned equipment, evidence exports, or field operations. Use the Slack App Home to show completion and overdue status, then retain certificates or exports with the control record. Keep the message copy, trigger condition, policy version, and response ticket together so an auditor can see not only that training existed, but how the organization responded to a real event.
Documenting the principle of least privilege access strengthens the technical and behavioral sides of the control. Users shouldn't need administrator rights to inspect ordinary files, and they shouldn't be encouraged to bypass endpoint restrictions to meet a deadline.
Final Verdict and Audit-Ready Evidence Checklist
A USB flash drive earns operational trust only after the evidence supports it. The decision isn't based on the label, the brand, or a single fast copy. It rests on preserved acquisition records, successful integrity validation, controlled behavioral analysis, and a clear disposition.
Use a case record that answers these questions:
- Identity: What was the device, where did it come from, and who submitted it?
- Acquisition: What raw image or isolated copy was created, and what hash identifies it?
- Capacity: What capacity did the controller advertise, what capacity was verified, and where did any first error occur?
- File integrity: Which source files were hashed, and did the read-back hashes match?
- Behavior: Which samples entered the sandbox, what processes and changes appeared, and which IoCs were extracted?
- Disposition: Was the drive approved for a limited use, quarantined, sanitized, or destroyed?
- Follow-up: Was the originating user or team given targeted guidance, and is the event attached to the relevant ticket?
A drive with repeatable corruption, an unexplained read-only transition, suspicious execution behavior, or an unresolved acquisition problem belongs in quarantine. A drive that passes the process can still be restricted to an approved purpose. It shouldn't automatically become a backup device or a general-purpose sharing medium.
For distributed teams and service providers, recurring evidence collection can be easier when operational reporting is standardized. Resources such as Volgap automated reporting for MSPs can help frame that reporting conversation, while archiving and compliance guidance provides useful context for retaining the records.
Rule of thumb: If a drive hasn't been integrity-tested and sandboxed, it hasn't been used.
Treat the test as a recurring decision. Flash media wears through program and erase activity, stored data can lose retention over time, and connector wear is also measurable. Technical guidance cites connector specifications of roughly 1,500 insertion-removal cycles and materially different endurance ranges by NAND type, including up to 50,000 write cycles for SLC, approximately 3,000 to 5,000 for MLC, and about 1,000 for TLC in one manufacturer guide, as summarized in technical USB flash-drive documentation. Those figures are not a lifetime promise for an individual stick. They are a reason to record the media type where known, track use, and retest before important reuse.
Vigil Security delivers short, interactive USB-handling lessons, questions, reminders, and policy nudges directly in Slack, so your team can practice the response before the next mystery drive appears. Visit Vigil Security to turn this USB flash drives test workflow into recurring awareness training with completion records and audit-ready evidence.